
If you love textured crochet but don’t love keeping track of complicated repeats, this little pumpkin was designed with you in mind.
This post contains affiliate links. As an Amazon Associate and Walmart Creator, I earn from qualifying purchases. I may also earn a commission through other affiliate programs at no extra cost to you. I only share products I genuinely find useful or interesting.
The Berry Stitch Crochet Pumpkin combines rows of raised berry stitches with simple front-loop and back-loop crochet to create plenty of texture without a lot of counting. Better yet, the fabric itself gives you clues about where you are in the pattern.
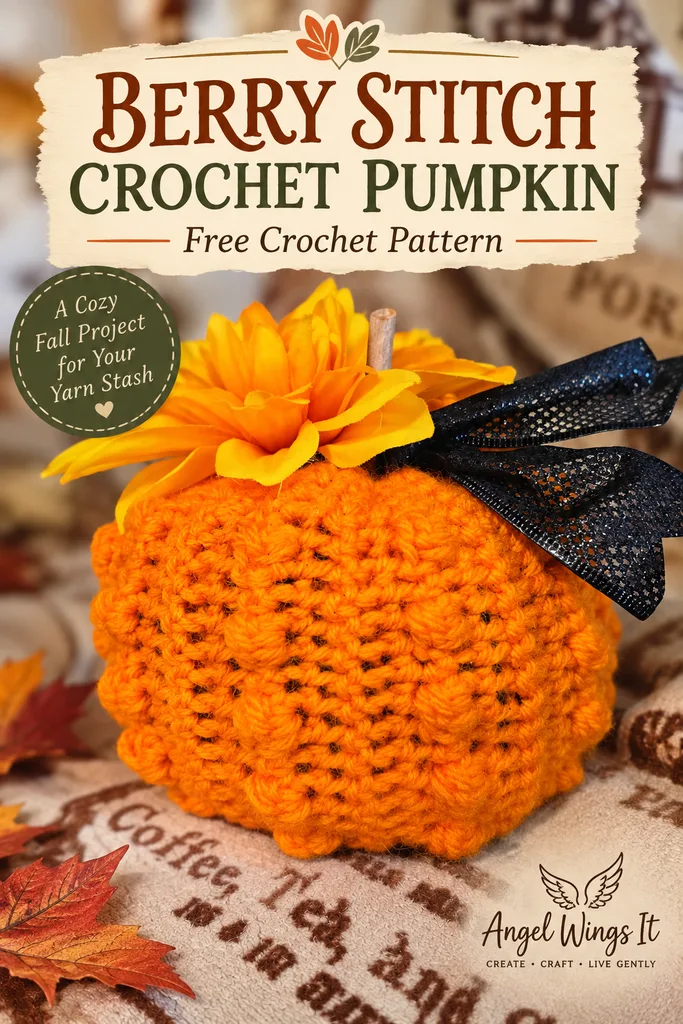
The finished berry stitch crochet pumpkin measures approximately 6 inches wide by 4 inches tall, making it a cute size for shelves, tiered trays, fall centerpieces, or tucked into a cozy autumn display.
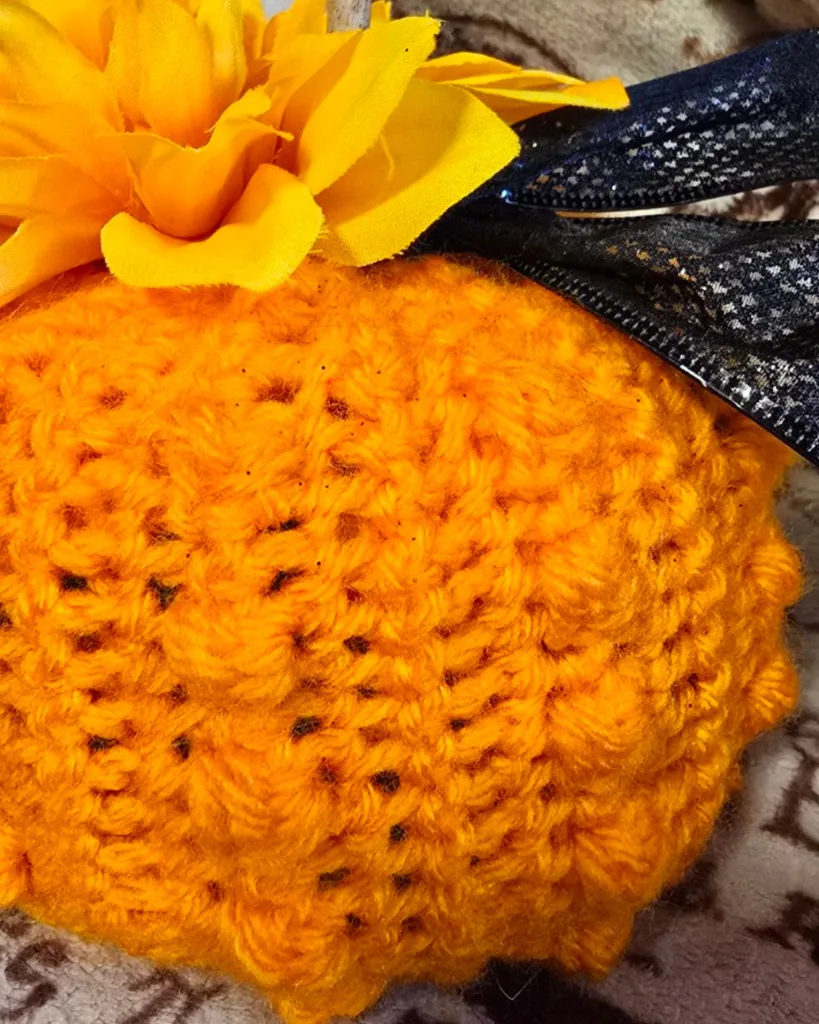
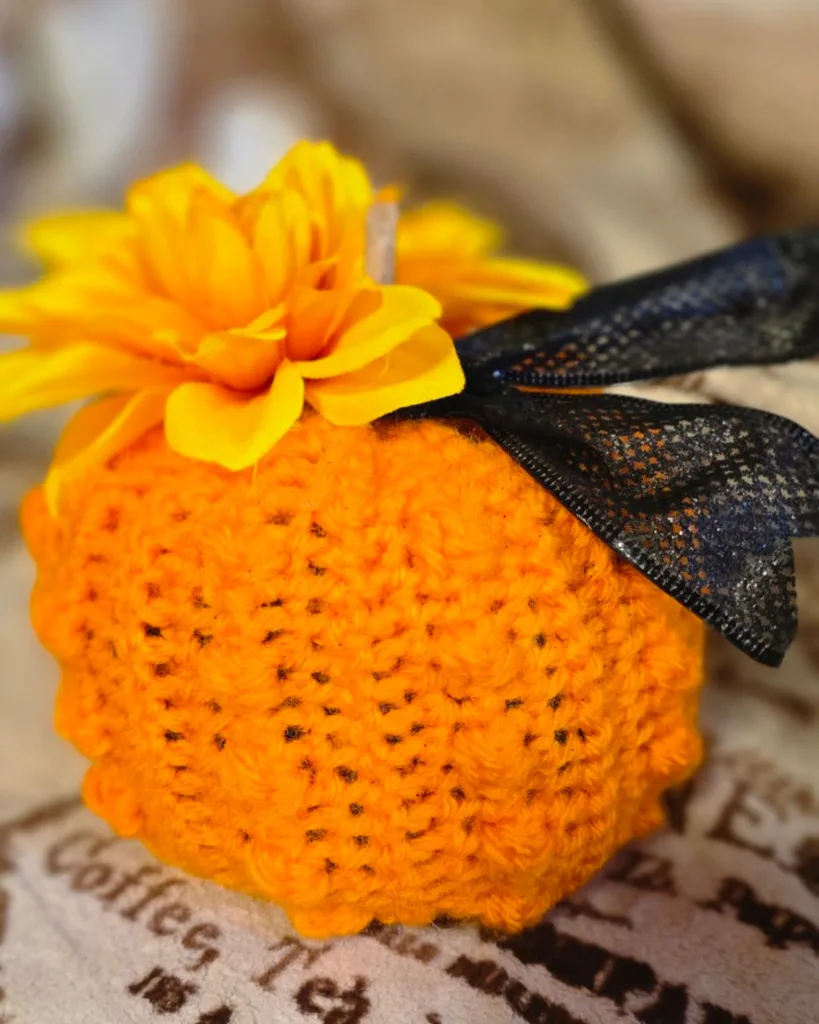
Mine was also almost entirely a stash-busting project. I used leftover orange yarn, stuffed it with scrap yarn when I couldn’t find my Poly-fil, and topped it with a stick I’d collected last fall, a random flower, and some black ribbon I already had.
Sometimes using what you have makes the cutest projects.
If you’re already filling your project queue for sweater-weather season, you’ll find even more ideas in my Free Fall Crochet Patterns collection, from quick decorations to cozy seasonal makes.
Why This Pumpkin Is Easy to Keep Track Of
One of my favorite things about this pattern is that you don’t really need a row counter.
Once you get going:
- When the front of the pumpkin is facing you, you’ll always work in the front loops only (FLO).
- When the back is facing you, you’ll either work a berry stitch row or a back-loop-only (BLO) row.
- The berry rows themselves make it easy to see how many repeats you’ve completed.
So instead of constantly stopping to figure out where you are, you can usually just look at your work.
That’s particularly useful if you’re the kind of crocheter who sets a project down, gets distracted, and comes back later wondering, Now what row was I on?
Finished Size
Approximately:
6 inches wide × 4 inches tall
Measurements do not include the stem or other embellishments.
Your finished size may vary depending on your yarn, hook, tension and how firmly you stuff your pumpkin.
Materials
- Less than 100 yards of medium/worsted weight #4 yarn
- 4 mm (G-6) crochet hook
- Yarn or darning needle
- Scissors
- Fiberfill, Poly-fil or scrap yarn for stuffing
- Optional stem and embellishments
For my sample, I believe I used Red Heart Super Saver in Pumpkin from my yarn stash.
For the topper, I used a small stick I’d collected, black ribbon and an artificial flower I already had. There’s no required topper for this pattern—use what you have.
A cinnamon stick would make an especially cute pumpkin stem.
🍂 Need Supplies for Your Fall Crochet Projects?
I’ve gathered some of my favorite yarns, hooks, notions, and cozy crochet supplies in my Autumn Crochet Essentials collection.
→ Shop My Autumn Crochet Essentials
As an affiliate, I may earn from qualifying purchases at no additional cost to you.
Gauge
Gauge isn’t critical for this pattern.
You want a fairly dense fabric that won’t allow the stuffing to show through easily. If your stitches are particularly loose, try going down a hook size.
Different yarn weights and hook sizes can also be used if you’d like to experiment with making larger or smaller pumpkins.
Abbreviations
ch – chain
sc – single crochet
st(s) – stitch(es)
ss – slip stitch
FLO – front loop only
BLO – back loop only
yo – yarn over
pt – pull through
berry st – berry stitch
Berry Stitch
Berry Stitch (berry st): Yo, insert hook into indicated st, yo and pull through, yo and pull through first loop only, yo, insert hook into the same st, yo and pull through, yo and pull through all 5 loops on hook.
Tip: Keep your yarn overs fairly relaxed. This makes it much easier to pull your hook smoothly through all five loops at the end of the stitch.
If you’ve never worked a berry stitch before, you can also follow my Berry Stitch Crochet Tutorial for the complete step-by-step instructions.
Berry Stitch Crochet Pumpkin Pattern
Ch 26.
Row 1
Sc in the 2nd ch from hook and in each ch across.
25 sc.
Ch 1, turn.
Row 2 – Berry Row
5 sc, *sc, berry st, sc* 5 times, 5 sc.
Ch 1, turn.
25 sts.
Row 3 – FLO
5 sc, FLO sc in the next 15 sts, 5 sc.
Ch 1, turn.
25 sts.
Row 4 – BLO
5 sc, BLO sc in the next 15 sts, 5 sc.
Ch 1, turn.
25 sts.
Row 5 – FLO
5 sc, FLO sc in the next 15 sts, 5 sc.
Ch 1, turn.
25 sts.
Continue the Pumpkin
Repeat Rows 2–5 eight more times for a total of 9 complete repeats.
Then repeat Rows 2–3 once more.
Do not fasten off.
Seam the Pumpkin
With the back side facing you, bring the foundation row up to meet the final row.
Slip stitch the edges together across, working through the back loop of the final row and front loop of the foundation row.
Fasten off, leaving an extra-long tail for shaping.
You should now have a crocheted tube.
📌Pin It – Berry Stitch Crochet Pumpkin
Stuffing and Shaping Your Pumpkin
Close the Bottom
Thread the bottom yarn tail onto a yarn or darning needle.
Weave the tail in and out through the stitches around the bottom edge.
Pull firmly to cinch the opening closed, then sew across the opening a few times to secure it.
Don’t cut the yarn yet. You’ll use this tail again for shaping.
Stuff the Pumpkin
Stuff your pumpkin approximately 3/4 full, or until it holds its shape but still has enough give to be cinched through the center.
You can use traditional fiberfill or Poly-fil, but don’t overlook your yarn scraps.
I couldn’t find my Poly-fil when I made this sample, so I stuffed the entire pumpkin with scrap yarn—and it worked beautifully.
Close the Top
Thread the top yarn tail onto your yarn needle.
Weave the tail through the stitches around the top edge and pull to cinch.
Sew the opening closed, but leave a small opening in the center if you’re planning to add a stick, cinnamon stick or other stem.
Don’t cut this yarn yet either.
Shape the Pumpkin
Insert your needle through the center of the top and bring it out through the center of the bottom.
Gently tug the yarn until the center pulls inward and you’re happy with the pumpkin’s shape.
Secure and cut the yarn.
Now repeat the process with the bottom tail, bringing the needle through the center of the pumpkin from bottom to top.
Gently pull again to cinch the center, then secure and cut the yarn.
This creates that plump, slightly squat pumpkin shape without having to wrap yarn around the outside to form individual sections.
Add a Stem and Decorations
Now comes the part where you can make it your own.
Insert a stem into the small opening you left at the top. You could use:
- A small twig
- Cinnamon stick
- Crocheted stem
- Wooden stem
- Artificial pumpkin stem
Then add ribbon, raffia, flowers, leaves, bows or whatever else suits your fall decor.
For mine, I used a stick, black ribbon and a flower—all things I already had lying around.
There really isn’t a wrong way to top it.
Want to dress yours up even more? A tiny crocheted leaf would make an adorable pumpkin topper. I’ve collected 15 Crochet Leaf Patterns for Fall, including several free options.
Want Staggered Berries?
I deliberately kept the main pattern simple by placing the berries in straight vertical columns.
Besides creating a pretty texture, this makes the pattern much easier to follow because there is very little counting involved.
If you’d prefer a more scattered look, however, you can stagger the placement of the berries on alternating berry rows.
I’d treat this as an optional variation rather than part of the basic pattern. The aligned berries shown in my pumpkin are the easiest version and create lovely vertical lines that complement the pumpkin’s ridges.
Make It From Your Scraps
This project turned out to be a much better scrap buster than I’d originally planned.
You don’t need an entire skein of yarn. You don’t necessarily need new stuffing. And you certainly don’t need to buy a package of pumpkin stems or special decorations.
Dig through your yarn ends, ribbon scraps, leftover faux florals and fall craft supplies.
You might already have an entire pumpkin hiding in your craft room.
Berry Stitch Crochet Pumpkin Pattern at a Glance
Skill level: Advanced beginner / easy
Finished size: Approximately 6″ wide × 4″ tall
Yarn: Medium #4 worsted weight, less than 100 yards
Hook: 4 mm (G-6)
Construction: Worked flat, seamed, stuffed and cinched
Gauge: Not critical
Special stitch: Berry stitch
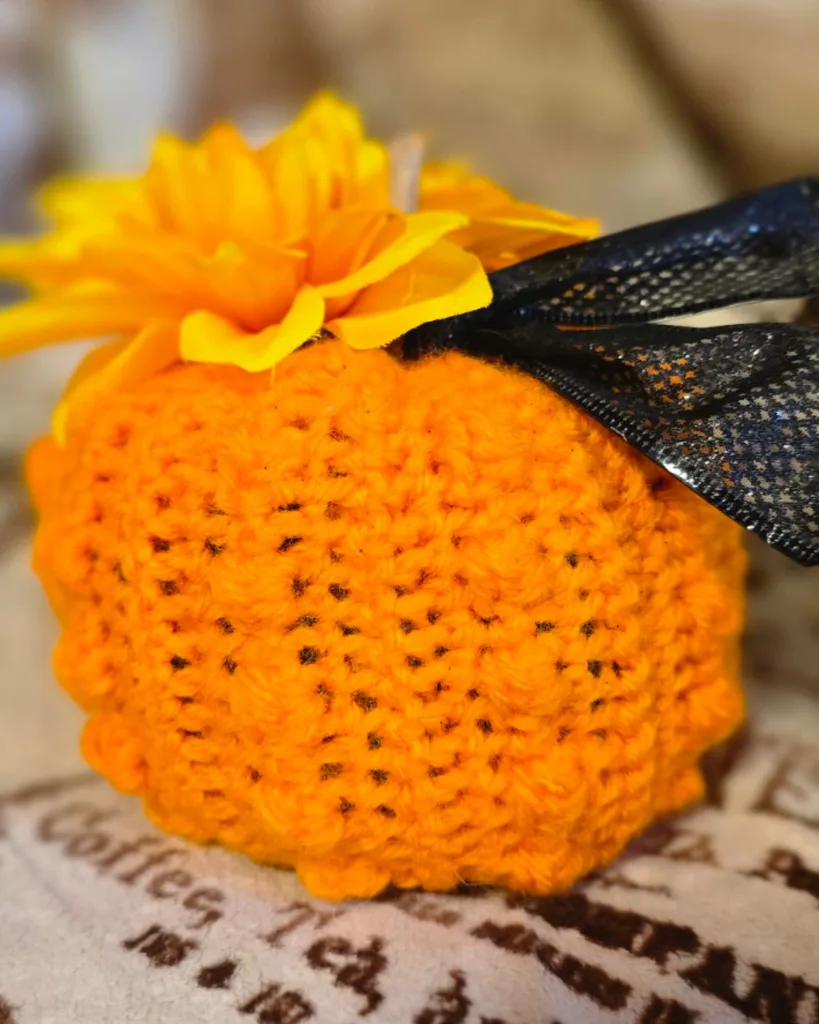
The combination of berry stitches and loop-only crochet gives this pumpkin much more texture than its simple four-row repeat would suggest—and because the right and wrong sides help tell you which row comes next, you can spend less time counting and more time crocheting.
🍂 Keep Crocheting for Fall
If this little pumpkin has you in an autumn-making mood, there’s plenty more waiting for your hook:
15 Small Halloween Crochet Projects You Can Actually Finish — quick ghosts, bats, pumpkins and other spooky little makes.
Free Fall Crochet Patterns – Cozy Makes for Autumn Days — browse my larger collection of free autumn crochet ideas.
15 Witchy Crochet Patterns to Start Now — for something a little more magical, with moons, mushrooms, webs and other witchy projects.