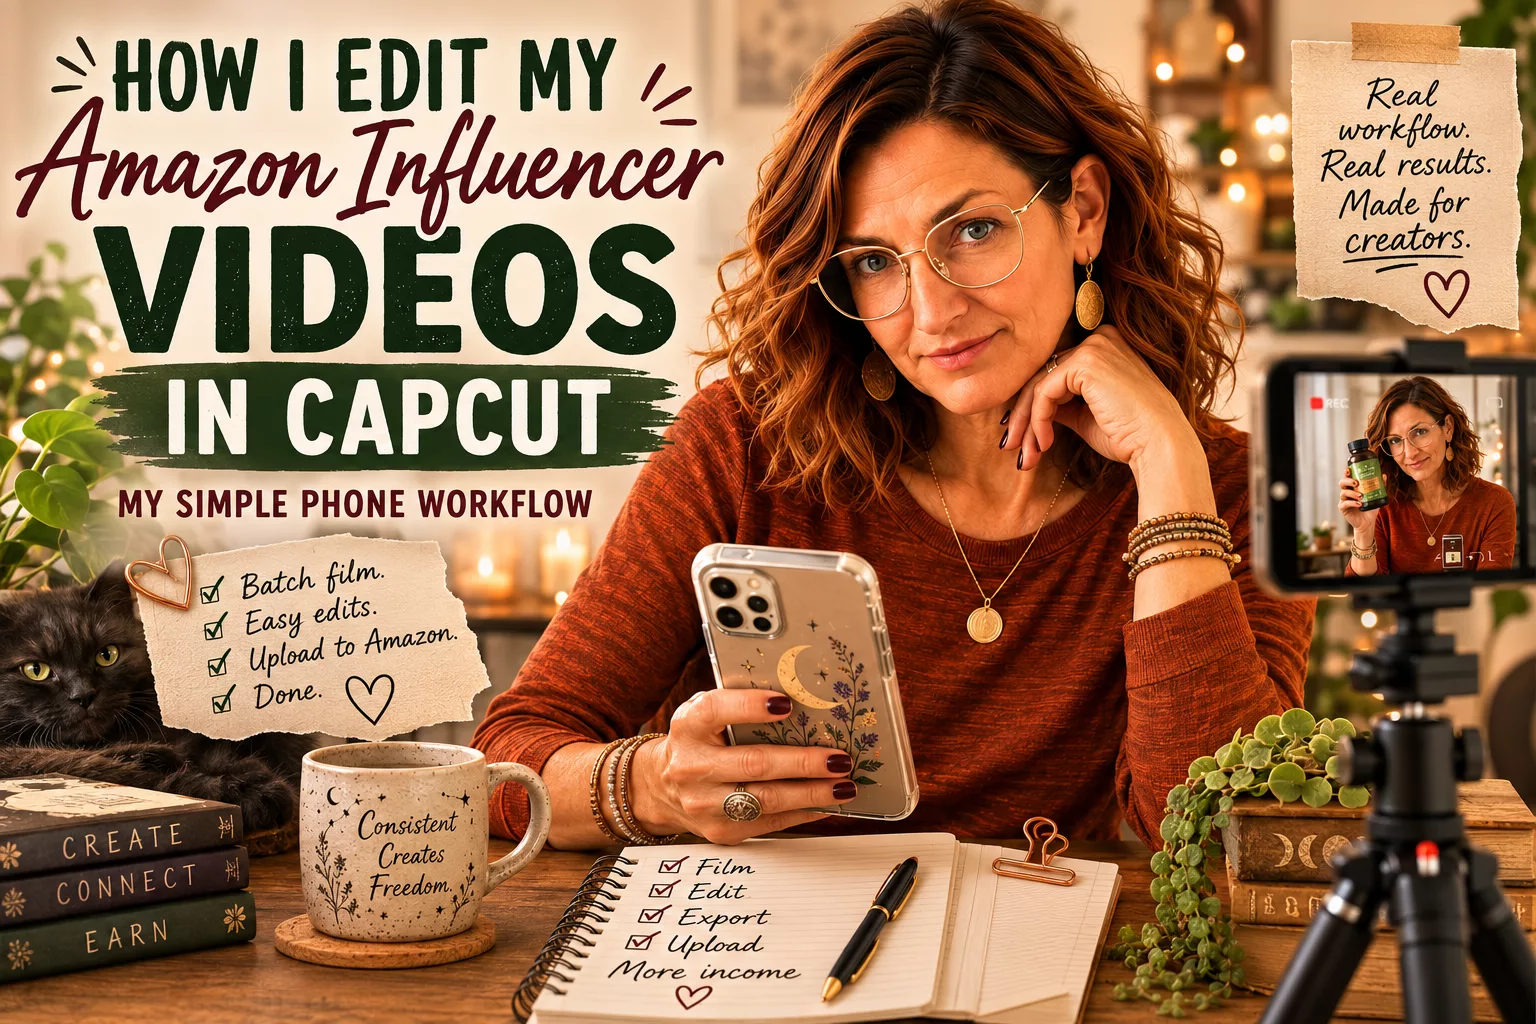
My actual batch-filming and editing process for Amazon Influencer videos using just my phone and CapCut.
This post contains affiliate links. As an Amazon Associate and Walmart Creator, I earn from qualifying purchases. I may also earn a commission through other affiliate programs at no extra cost to you. I only share products I genuinely find useful or interesting.
I don’t spend hours to edit Amazon Influencer videos.
Most of the time, I film a batch of products on my phone, open CapCut right there when I’m done, clean up each video, export it, and upload it to Amazon without ever moving to a computer.
That’s one of the things that has made consistency much easier for me.
I don’t need a complicated production setup.
I need a workflow that’s fast enough that I can actually repeat it.
And for me, that looks like this:
Prepare → batch film → make whole-video adjustments → edit from the transcript → smooth the cuts → export → upload.
The most important part is the order.
I’ll get to that in a minute.
I Film Amazon Videos in Batches
When I’m ready to film, I usually have several products lined up rather than making one video from beginning to end before starting the next.
Batching removes a lot of the setup friction.
Once the phone is positioned, the lighting is working and I’m already in filming mode, it makes sense to keep going.
Before I record each product, I’ll either make a few notes about what I want to cover or write a simple script.
Which one I use depends on the product.
If it’s something I know extremely well and can talk about naturally, a few bullet points may be enough.
If there are specific details I don’t want to forget, or I know I’m likely to ramble, I’ll write more of a script.
Then I practice it a couple of times.
Not until it sounds memorized.
Just enough that I know where I’m going.
Then I hit Record.
I Usually Don’t Stop Recording When I Mess Up
This may be the biggest thing that makes filming faster for me.
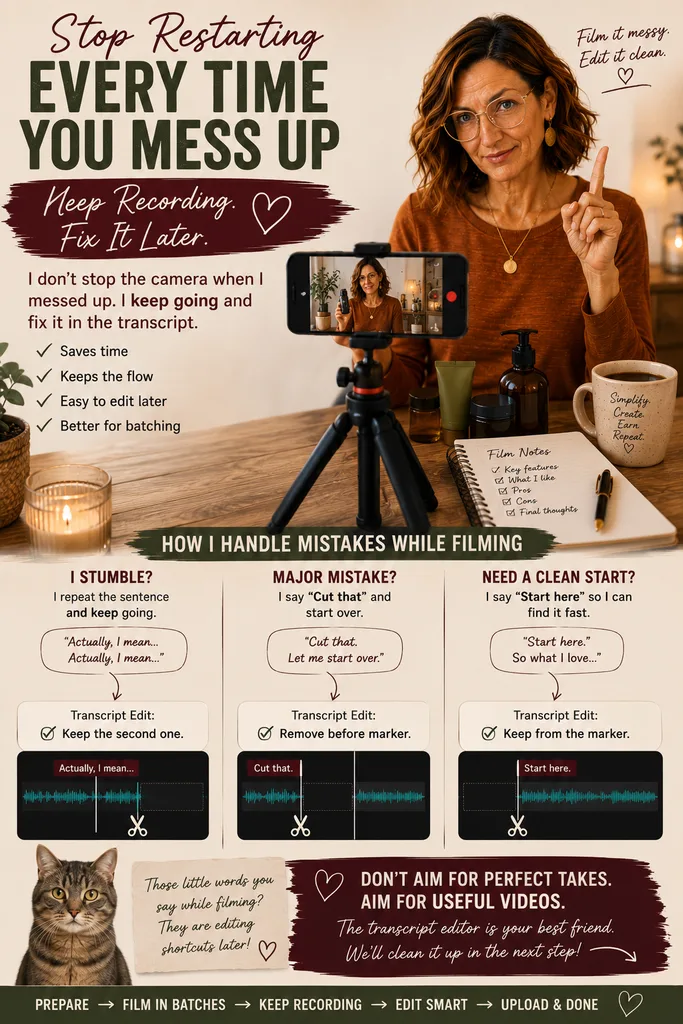
If I stumble over a sentence, pause too long or completely mess something up, I usually keep the camera rolling.
Sometimes I simply repeat the sentence.
Sometimes I start the entire section again.
Sometimes I’ll literally say something like:
“Cut that.”
or
“Start here.”
Then I continue.
Those little verbal markers make the mistake incredibly easy to find later when I’m editing from the transcript.
I don’t have to stop recording, delete the clip, reposition everything, press Record again and try to remember exactly where I left off.
I already know I’m going to edit the transcript later.
So I let the camera keep rolling.
That means the raw recording may be messy.
That’s fine.
The final video is what matters.
The fewer steps there are between “I filmed this” and “this is published,” the easier it is for me to stay consistent.
Angel Livingston
After Filming, I Edit Everything on My Phone
Once I’ve finished filming the batch, I stay on my phone and start editing in CapCut.
I generally finish one video completely before moving to the next one.
That means:
Edit video one → export it → save it to my device.
Then video two.
Then video three.
And so on.
For me, that’s easier than partially editing six different videos and trying to remember what still needs to be done to each one.
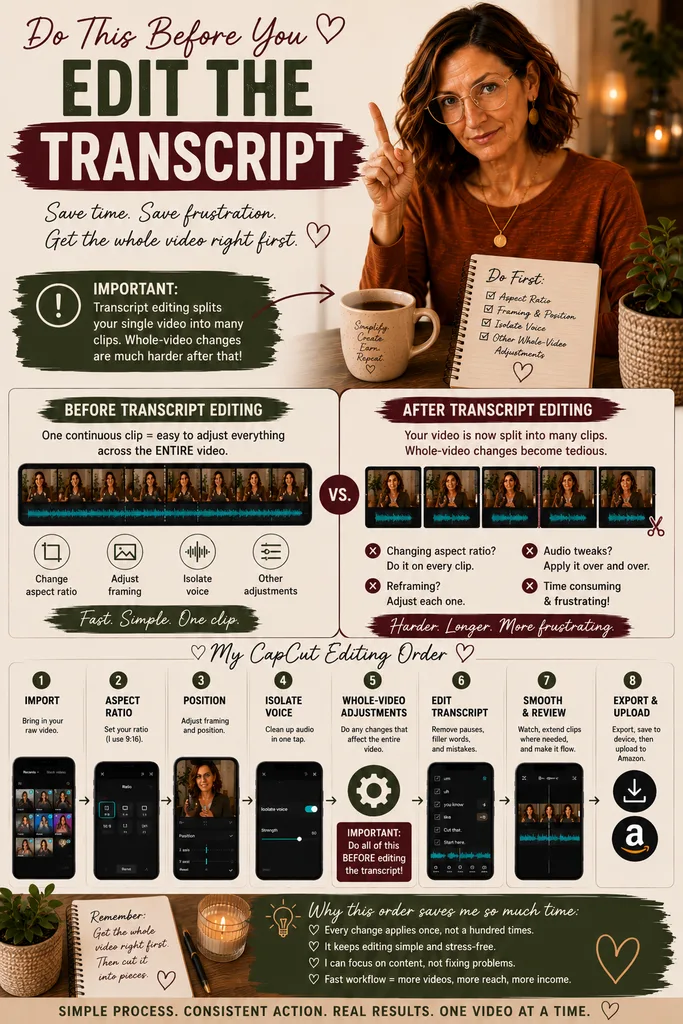
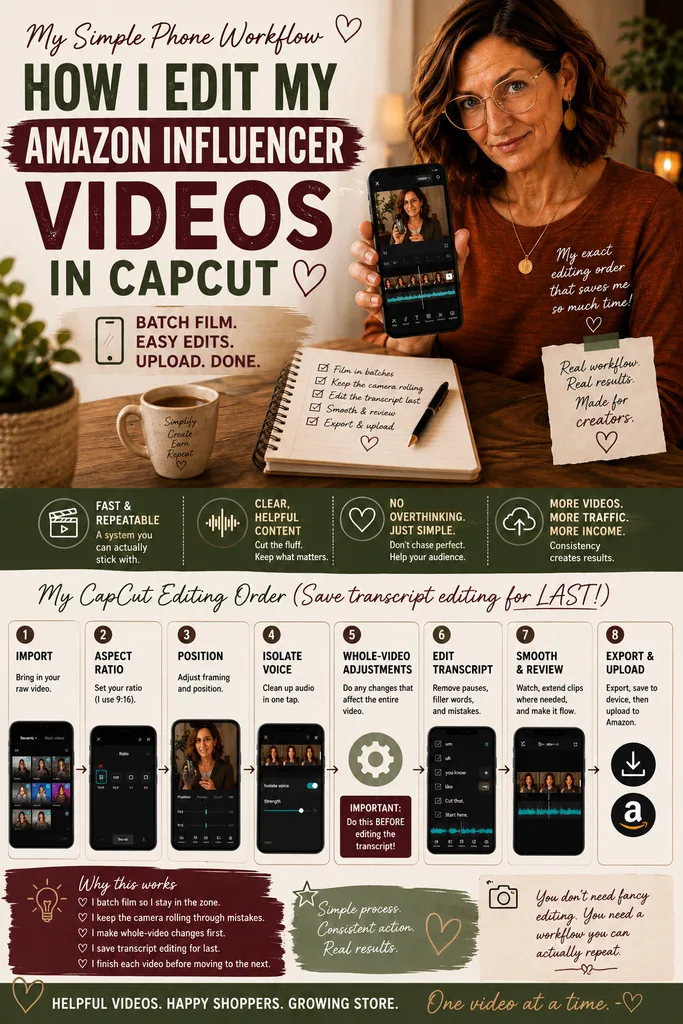
My CapCut Editing Order
This is the order I currently use:
1. Import the video
2. Set the aspect ratio
3. Adjust the framing and video position
4. Use Isolate Voice
5. Make any other changes that need to affect the entire video
6. Edit using the transcript
7. Watch the finished video and smooth any awkward cuts
8. Export and save to my device
Then I upload the finished video to Amazon directly from my phone.
That order matters more than it may look.
Step 1: Import the Video Into CapCut
I start a new CapCut project and bring in the raw video I just filmed.
At this stage, it’s still one continuous recording.
That is exactly how I want it.
Before I cut anything, I make the changes that need to apply to the whole recording.
Step 2: Set the Aspect Ratio
Next, I set the aspect ratio I want for the finished video.
Depending on how I filmed and where I intend to use the content later, I may need to adjust the canvas and framing.
The important point isn’t which button to press.
It’s that I do this before I start cutting the video apart.
Step 3: Adjust the Video Position and Framing
Once the canvas is set, I make sure the video is positioned correctly.
If the subject needs to move slightly within the frame, if the product needs more room or if I need to adjust the overall composition, I do it now.
Again:
the video is still one continuous clip.
That’s deliberate.
Step 4: Use Isolate Voice
Next I use CapCut’s Isolate Voice feature.
This is one of the CapCut tools I use most often because it helps clean up background noise and makes my speech easier to hear without requiring a separate audio-editing workflow.
For a straightforward product review, that’s often all the audio cleanup I need.
I don’t generally spend time trying to make an Amazon video sound like it was recorded in a professional studio.
I want:
clear voice, understandable audio, useful information.
If that’s there, I’m happy.
Step 5: Make Any Other Whole-Video Changes
Before touching the transcript editor, I stop and ask:
Is there anything else I need to change across this entire video?
This is the point to do it.
That might include framing, sizing, audio treatment or anything else that needs to affect the recording as a whole.
Because once I move to transcript editing, the video is about to stop being one continuous clip.
Important: Save Transcript Editing for Last
Do every adjustment that needs to apply to the whole video before you begin cutting mistakes and pauses from the transcript.
Once you edit from CapCut’s transcript, your original recording gets split into multiple individual clips wherever you make cuts.
If you then realize you need to change something across the entire video, you’ve made the job much more tedious.
Get the whole video right first. Then cut it into pieces.
This is one of those lessons that’s obvious after you’ve made the mistake once.
Step 6: Edit From the Transcript
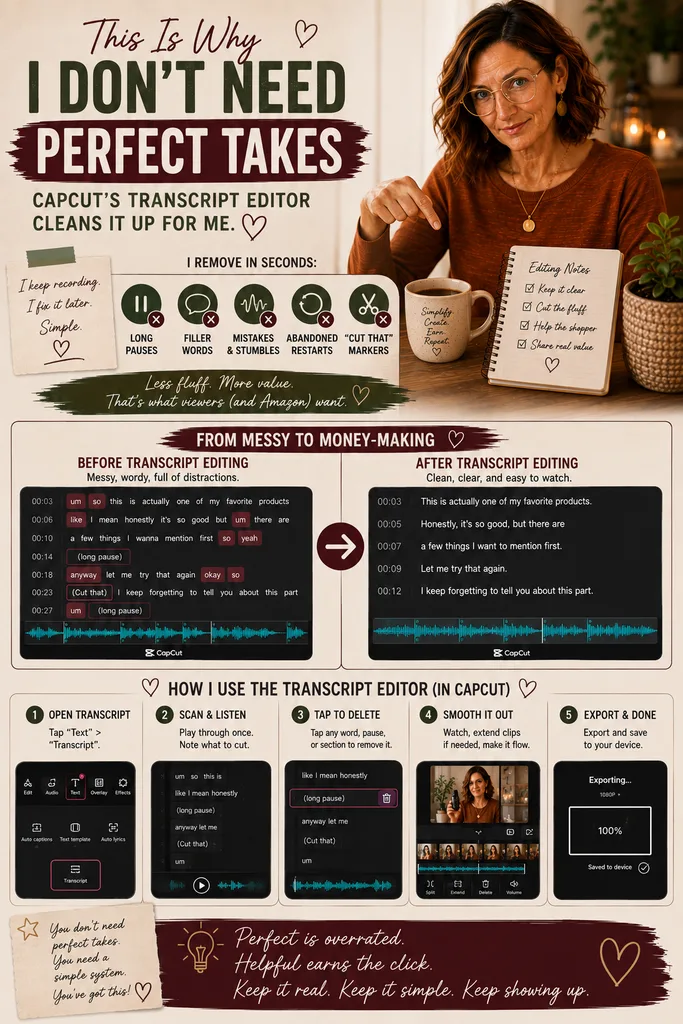
Now I open CapCut’s transcript editing tools.
This is where the messy raw recording becomes a finished video very quickly.
Because CapCut has transcribed what I said, I can find:
- long pauses;
- filler words;
- repeated sentences;
- obvious mistakes;
- sections where I restarted;
- those handy “Cut that” and “Start here” markers I said while filming.
Instead of scrubbing endlessly through a timeline trying to find every mistake visually, I can work through the words.
If I see a section where I restarted the sentence, I remove the bad attempt.
If I rambled, I tighten it.
If there’s a long silence, I shorten it.
If I said something twice, one goes.
If I completely started over halfway through the video, I can remove the abandoned version and keep the clean restart.
This is why I don’t worry much about filming perfect takes.
Transcript editing lets me fix the performance after the fact.
Step 7: Watch the Whole Video
I never assume the transcript edit is perfect just because the words look right.
Once I’ve finished cutting, I watch the entire video.
I’m listening for places where the edits feel abrupt or the pacing becomes unnatural.
Sometimes removing a pause takes out slightly too much breathing room.
Sometimes a cut between two sentences is technically correct but feels rushed.
Sometimes CapCut trims right up against the beginning or end of a word.
When that happens, I extend the relevant clip slightly until the transition sounds natural.
This doesn’t usually require much work.
It’s simply a final quality check.
The question I’m asking is:
Does this feel smooth enough that the editing disappears?
If I’m noticing every cut, I’m not finished yet.
Step 8: Export and Save to My Device
When the video looks and sounds right, I export it from CapCut and save it to my phone.
That’s the finished Amazon video.
Then I move on to the next product in the batch and repeat the process.
Then I Upload to Amazon
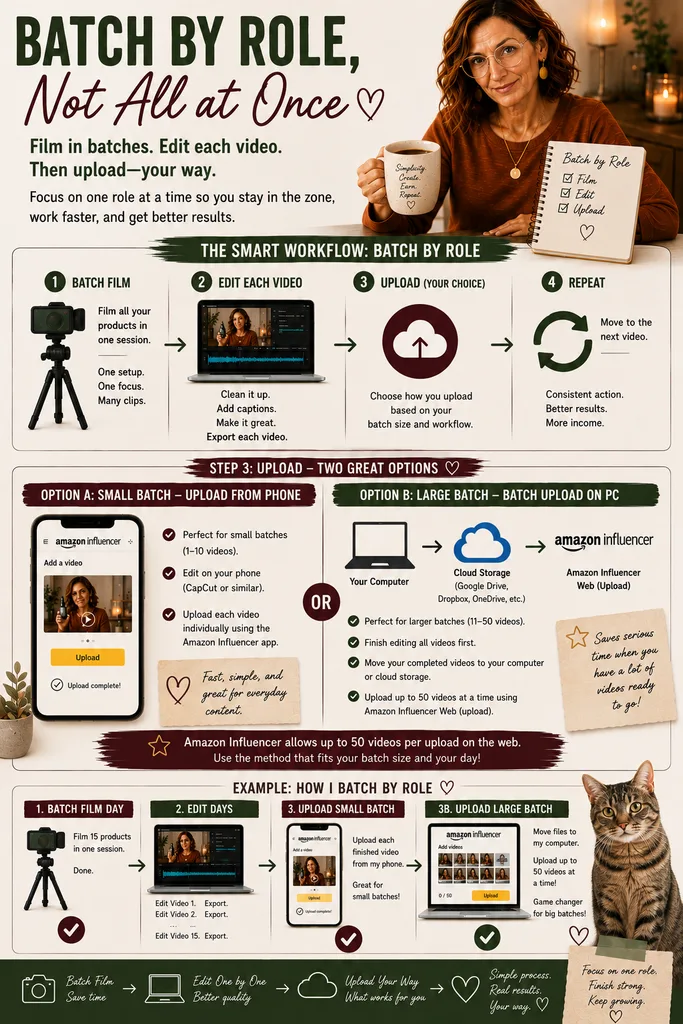
For a small batch, I usually keep the whole workflow on my phone. Once I’ve finished editing the batch and exported the videos to my device, I can upload them to Amazon from there.
So a small-batch workflow can stay very simple:
Film on phone → edit the batch in CapCut → export to phone → upload the finished batch to Amazon.
For larger batches, though, I think it makes more sense to separate the upload stage from the phone workflow. Once the videos are finished, you may want to transfer them to a computer or cloud storage so you—or whatever software you’re using—can handle the Amazon uploads from there.
That’s an important distinction: I’m batching by role.
I film all the products while I’m in filming mode. Then I edit the finished batch, one video at a time, while I’m in editing mode. Then I handle the uploads as their own step.
The goal isn’t to force every part of the workflow to stay on one device. It’s to reduce unnecessary context switching and keep each stage as efficient as possible for the size of the batch you’re working with.
What I Don’t Usually Add to My Amazon Videos
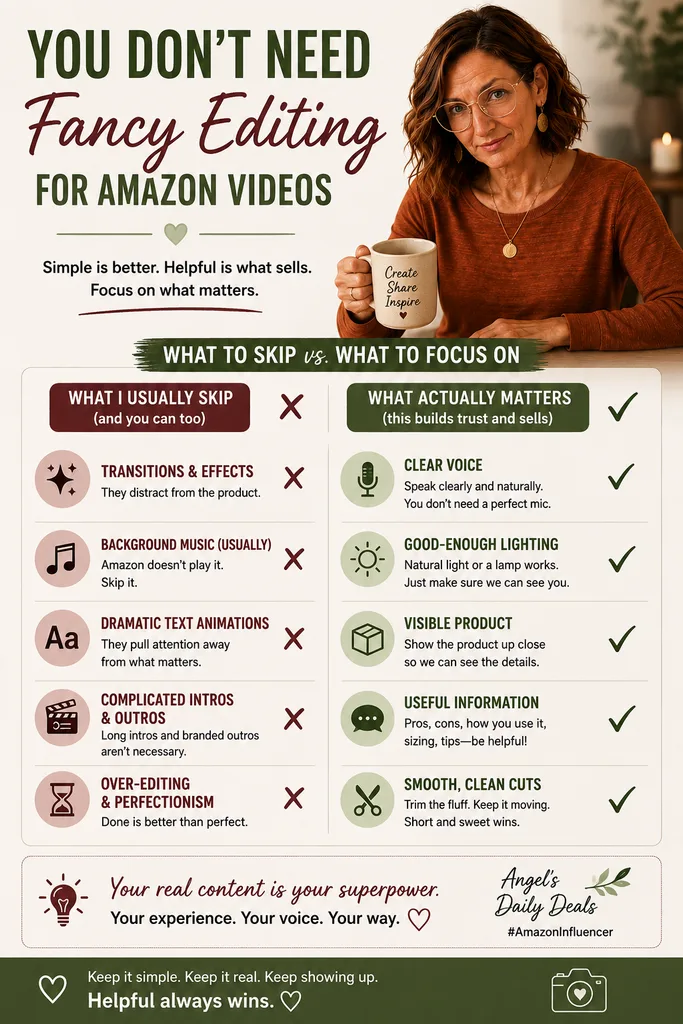
For normal Amazon onsite videos, I don’t feel compelled to add a lot of editing extras just because CapCut makes them available.
I usually don’t need:
- elaborate transitions;
- visual effects;
- dramatic text animations;
- background music;
- complicated intros;
- long branded outros.
That doesn’t mean those things are always wrong.
It means I don’t add them unless they make the product review more useful.
The purpose of the video isn’t to demonstrate how many CapCut tools I know how to use.
The purpose is to help someone understand the product.
If simple editing does that better, simple wins.
My Real Goal: Make Editing Easy Enough to Repeat
I think this is where creator advice sometimes goes sideways.
It’s very easy to design the “perfect” workflow that you absolutely hate doing.
Maybe it produces a gorgeous video.
But if each video takes two hours to edit, how many are you realistically going to make?
My Amazon workflow is designed around a different question:
What is the simplest process that consistently produces a clear, useful video I’m comfortable publishing?
For me, that means:
Film several products while I’m already set up.
Don’t restart the camera every time I misspeak.
Use verbal markers when I know I’ll want to cut something.
Make all whole-video changes while the recording is still one clip.
Use CapCut’s Isolate Voice.
Use the transcript to remove the messy parts.
Watch once for smoothness.
Export.
Upload.
Move on.
That’s it.
Why This Workflow Works So Well for Me
The biggest benefit isn’t that CapCut makes one video faster.
It’s that the workflow reduces the number of places where I can get stuck.
I’m not trying to perform a flawless take.
I’m not moving files between several programs.
I’m not manually hunting through a timeline for every “um.”
I’m not polishing every video until it looks like an advertisement.
I’m creating useful product content in a process I can repeat.
And since I began focusing much more consistently on Amazon onsite videos, I’ve learned that repeatability matters a lot more to me than perfection.
The more videos I make, the better I get at:
- preparing;
- talking naturally about products;
- knowing which details matter;
- filming efficiently;
- recognizing what I can cut;
- editing quickly.
The workflow gets faster because I get better at the workflow.
A Quick Example of My Batch Process
A typical filming session might look something like this:
Before filming
Gather several products.
Make notes or scripts.
Set up the phone.
Check lighting and framing.
For each product
Practice once or twice.
Hit Record.
Keep going through mistakes.
Repeat anything that needs another take.
Use “Cut that” or “Start here” when helpful.
Finish the review.
Move to the next product.
After the entire batch is filmed
Open the first video in CapCut.
Set aspect ratio.
Adjust framing.
Isolate Voice.
Make whole-video adjustments.
Edit the transcript.
Watch it once.
Smooth any rough cuts.
Continue editing the remaining videos in the batch.
When I finish editing for the day, upload the completed videos.
If I do not get through editing the entire batch, upload whatever is finished.
The important distinction is:
I batch the filming and editing, then upload only after I finish editing for the day.
That keeps the workflow organized without forcing me to switch between filming, editing, and uploading after every product.
Do You Need CapCut to Make and Edit Amazon Influencer Videos?
No.
CapCut happens to work very well for the way I edit.
What matters is having an editing tool that lets you comfortably:
- trim mistakes;
- clean up your audio;
- adjust framing;
- control your video’s aspect ratio;
- review the finished result;
- export in good quality.
If another editor does that better for you, use it.
The best editor isn’t necessarily the one with the most features.
It’s the one you’ll actually use.
How This Fits Into My Amazon Influencer Workflow
Editing is only one piece of the system I’ve gradually built around Amazon Influencer.
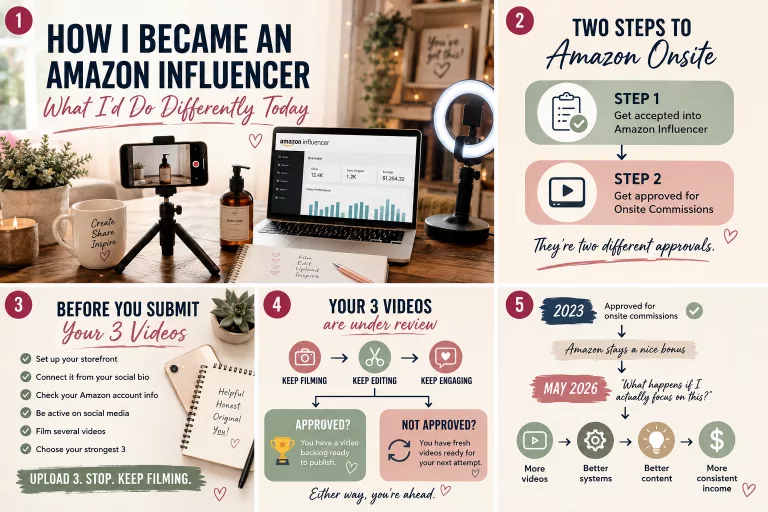
If you’re still trying to get into the program or unlock onsite commissions, start with:
→ How I Became an Amazon Influencer — And What I’d Do Differently Starting Today
If you’re already creating consistently and trying to make the larger workflow easier, I’ve also put together:
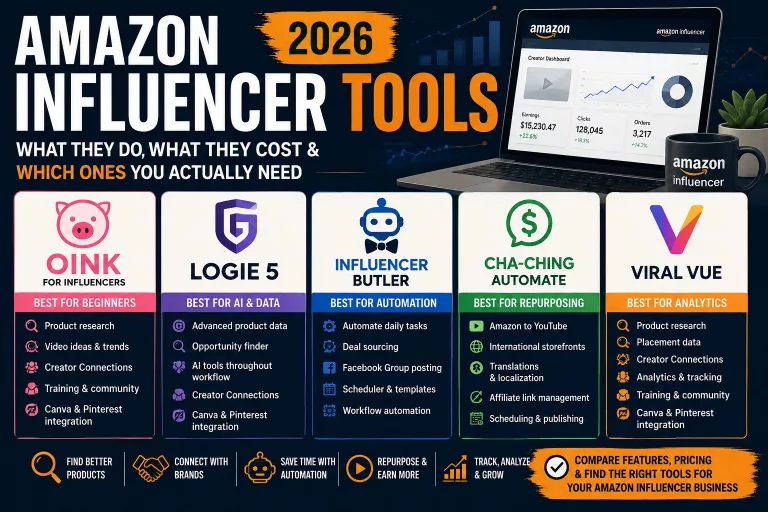
→ My Amazon Influencer Tools & Resources
That’s where I talk about the other tools I use alongside CapCut, including the ones that help me manage opportunities, content and repetitive creator work.
Amazon Influencer Video Editing FAQ
Do I Need to Script My Amazon Influencer Videos?
Not necessarily.
I use both notes and scripts depending on the product.
For something I know well, a short list of talking points may be enough. If I need to remember several specific details or I know I’m likely to wander off topic, I may write more.
Either way, I usually practice a couple of times before recording.
The goal isn’t to sound memorized.
It’s to know what I want to say.
Should I Stop Recording When I Make a Mistake?
I usually don’t.
I repeat the sentence or start the section over and keep recording.
Because I edit from the transcript later, removing the bad attempt is easy.
Saying something like “Cut that” or “Start here” also creates an obvious marker in the transcript.
Why Should Transcript Editing Be the Last Major Step?
Because transcript edits split your continuous recording into multiple clips.
Any adjustment that needs to affect the entire video is much easier while you still have one clip.
So I do framing, aspect ratio, Isolate Voice and other whole-video changes first.
Then I cut from the transcript.
Do Amazon Influencer Videos Need Fancy Editing?
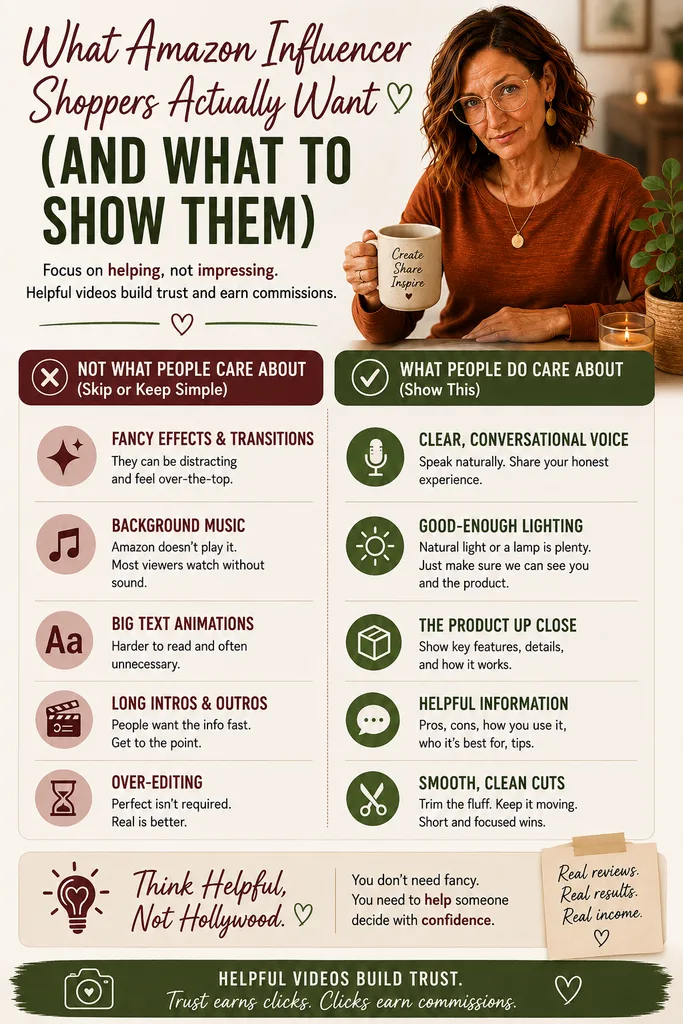
A useful product video needs to be clear, understandable and genuinely helpful.
Good audio, good-enough lighting, useful commentary and smooth editing matter considerably more to me than transitions and effects.
Do I Edit Amazon Influencer Videos on a Computer?
Not usually, my normal workflow happens completely on my phone.
I film there, edit in CapCut there, save the finished video there and upload it to Amazon from there.
That simplicity is one of the reasons the workflow works for me.
How Long Does It Take Me to Edit an Amazon Video?
It varies depending on how messy the original take is, but the entire point of this process is to keep editing relatively lightweight.
I don’t try to turn each review into a miniature commercial.
Once I’ve done the whole-video setup, transcript editing lets me remove most of the unnecessary material quickly.
The Short Version
My Amazon Influencer editing workflow is:
Batch film on my phone.
Keep recording through mistakes.
Import into CapCut.
Set the aspect ratio and framing.
Use Isolate Voice.
Make every change that needs to apply to the whole video.
Only then edit from the transcript.
Remove pauses, filler words, mistakes and abandoned takes.
Watch the finished video and smooth any rough cuts.
Export to my phone.
Upload to Amazon.
Nothing particularly glamorous.
But it’s fast, repeatable and good enough that I can keep doing it.
And for me, that’s what makes the workflow work.